
How do I customize tutorial techniques to enhance my unique features with elegant artistry?

Beyond Basic Tutorials: Crafting Your Signature Look
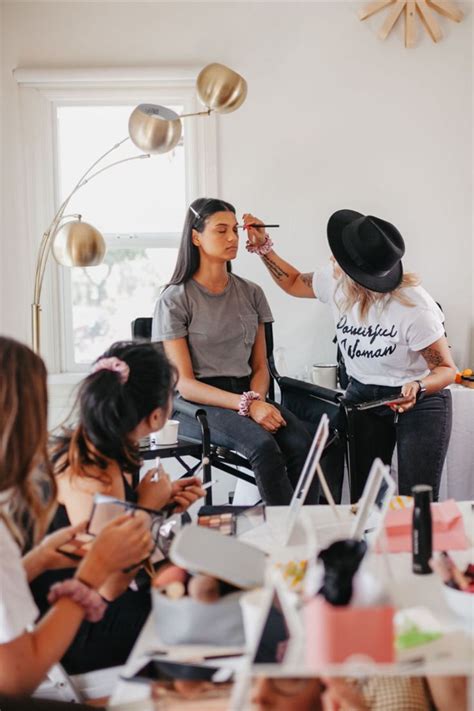
In the vast world of makeup tutorials, it’s easy to get lost in a sea of generic looks and one-size-fits-all techniques. While these guides are excellent starting points, true beauty artistry lies in personalizing these lessons to celebrate and elevate your unique features. Moving beyond mere replication, this guide will help you understand how to adapt tutorial techniques with elegant artistry, creating a signature look that is distinctly yours.
Understanding Your Unique Canvas
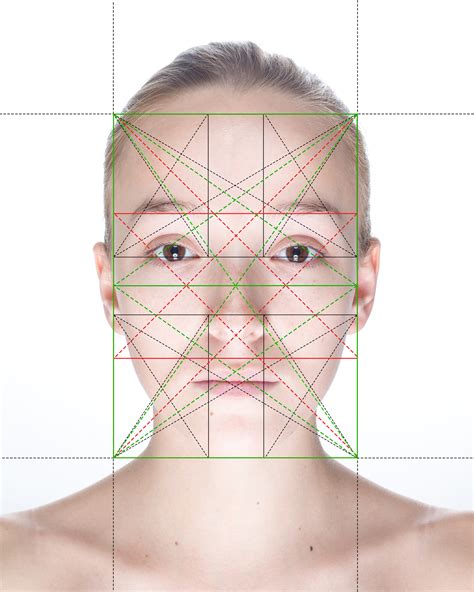
The first step to customization is a deep understanding of your own face. Every face is a unique masterpiece, and what works for one person may not work for another. Take time to:
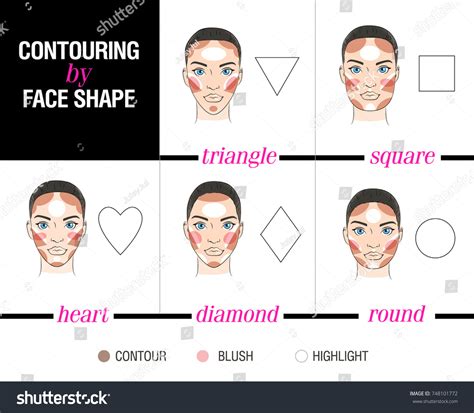
- Analyze Your Face Shape: Is it round, oval, square, heart, or diamond? This influences contouring, blush placement, and even eyebrow shaping.
- Identify Your Eye Shape: Are your eyes almond, hooded, monolid, round, downturned, or upturned? Eyeliner and eyeshadow application methods vary significantly for each.
- Assess Your Lip Shape and Volume: Thin, full, symmetrical, or asymmetrical? This dictates lip liner and lipstick application.
- Determine Your Skin Undertone: Warm, cool, or neutral? This is crucial for selecting foundation, concealer, and color palettes that truly flatter.
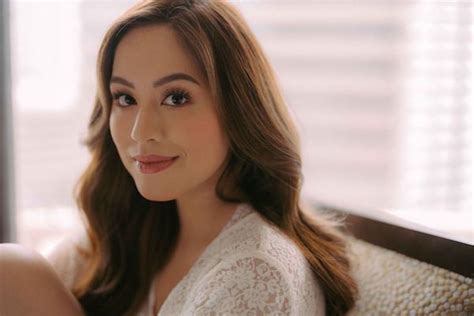
- Recognize Your Standout Features: What do you love most about your face? Is it your high cheekbones, expressive eyes, or full lips? Focus on enhancing these.
Deconstructing Tutorial Techniques for Personalization
Instead of blindly following every step in a tutorial, learn to deconstruct it. Every technique has a purpose. For example, contouring aims to create shadows and dimension, while highlighting brings forward certain areas. Once you understand the ‘why,’ you can adapt the ‘how.’
- Modify Placement: Where the tutorial tells you to place contour, adjust it to where *your* natural shadows fall, or where you want to create the illusion of depth for *your* specific face shape.
- Adjust Intensity: A heavy contour might be stunning on camera but overwhelming for daily wear. Scale down the intensity, blend more, or choose sheerer products for an elegant, natural finish.
- Change Product Choice: If a tutorial uses a cream contour, but you prefer powder, adapt the technique with your preferred medium. Similarly, swap out bold colors for softer, more harmonious shades if that aligns with your aesthetic.
Adapting for Feature Enhancement with Artistry
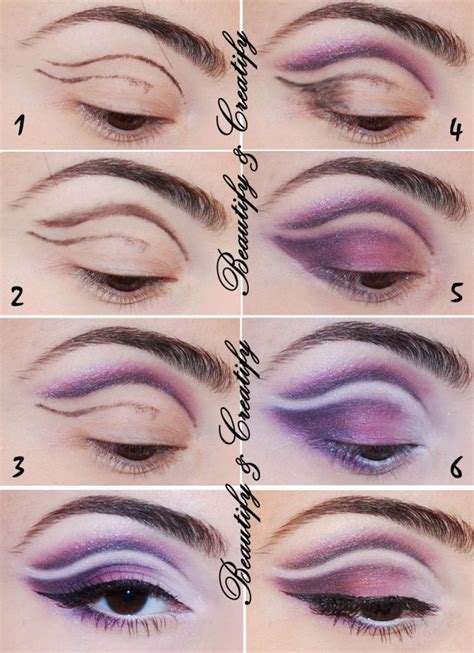
Eyes: The Windows to Your Soul
For hooded eyes, a cut crease technique might need to be adjusted to a ‘faux’ crease placed higher than your natural fold. For close-set eyes, focusing lighter shades on the inner corner and extending liner slightly past the outer corner can create a wider appearance. For downturned eyes, an uplifted wing liner can provide a beautiful lift. Always consider your eye shape when applying shadow, liner, and even mascara.
Contour & Highlight: Sculpting Your Story
Forget the generic ‘3’ shape. Instead, apply contour to naturally receding areas or to create the illusion of structure where you desire it. For example, if you have a prominent forehead, contour along the hairline can subtly reduce its appearance. If you want to define your jawline, apply contour directly underneath the bone. Highlight should be placed on the highest points of *your* face – typically the top of the cheekbones, brow bone, and cupid’s bow – to catch light naturally and elegantly.
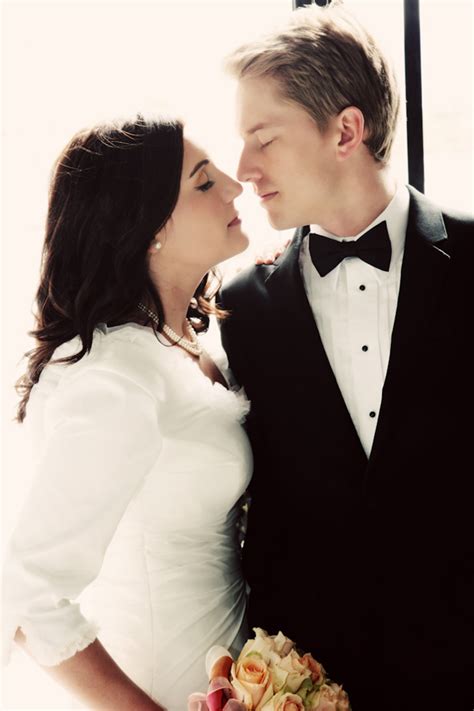
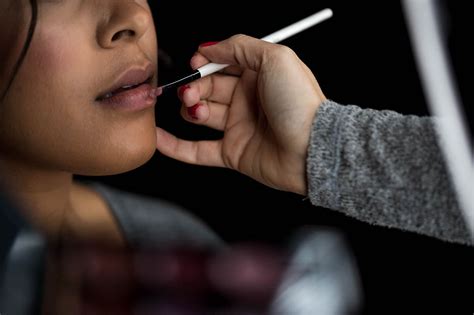
Lips & Brows: Framing Your Expression
If a tutorial suggests a bold lip, but you prefer a softer look, choose a stained effect or a nude gloss. For thin lips, a slight overlining with a carefully matched liner can create fullness without looking artificial. For brows, instead of filling them in according to a template, enhance your natural arch and tailor the shape to best frame your unique eye and face shape, using soft, hair-like strokes for an elegant finish.
Infusing Elegant Artistry
Elegant artistry is about subtlety, balance, and harmony. It’s not about being invisible, but about creating a look that feels elevated and intentional.
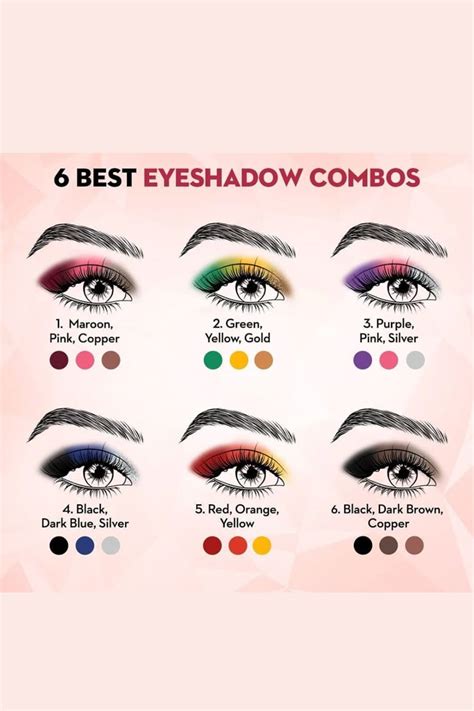
- Color Theory: Choose colors that not only suit your undertone but also complement your personal style and the occasion.
- Texture Play: Mix and match finishes. A matte eye with a satin lip, or a dewy skin finish with a touch of glitter on the eyes, can add dimension and sophistication.
- Master Blending: Seamless transitions between colors and products are the hallmark of elegant makeup. Invest time in perfecting your blending techniques.
- Balance and Proportion: If you’re going for a strong eye, perhaps a softer lip is in order, and vice versa. Strive for an overall harmonious look that enhances without overpowering.
Practice, Experimentation, and Confidence
Customizing tutorial techniques is an ongoing journey. It requires practice, experimentation, and a willingness to step outside the lines. Don’t be afraid to try new things, adapt, and refine. Keep a beauty journal, take photos of looks you love, and note what works best for your features. Over time, you’ll develop an innate understanding of your face and what truly makes you feel beautiful and confident. This journey from imitation to innovation is where your unique artistic flair truly shines.

Conclusion
Customizing makeup tutorial techniques to enhance your unique features with elegant artistry is about transforming from a follower to a creator. By understanding your canvas, deconstructing techniques, and infusing your personal aesthetic, you unlock a world where makeup isn’t just a routine but a powerful tool for self-expression. Embrace the art of personalization, and let your unique beauty radiate with confidence and grace.