

Best methods to photograph intricate makeup artistry for blog elegance?

Capturing the Nuance: Why High-Quality Photography Matters
In the vibrant world of beauty blogging, where visual appeal is paramount, the way you photograph intricate makeup artistry can make or break your content. Blog elegance isn’t just about the words; it’s about translating your artistic skill into stunning visuals that captivate your audience. Intricate makeup, by its very nature, demands meticulous attention to detail, and your photography must reflect that precision. From delicate eyeliner work to complex glitter applications or elaborate theatrical designs, every brushstroke needs to be seen clearly. This guide will walk you through the best methods to ensure your photographs do justice to your beautiful work, elevating your blog’s aesthetic and impact.
![MOVIE - Closer (2004) 1080p [Dual Audio ENG-SPA] | ShareMania.US](/images/aHR0cHM6Ly90czEuZXhwbGljaXQuYmluZy5uZXQvdGg/aWQ9T0lQLkE2YTFVX3Y5a09jejdfa0FLOFc0ZUFIYUstJnBpZD0xNS4x.webp)
Mastering the Light: Your Foundation for Flawless Shots
Lighting is arguably the most critical element in makeup photography. Poor lighting can obscure details, distort colors, and cast unflattering shadows, completely undermining your intricate work. The goal is to illuminate the makeup evenly, highlighting its texture and color vibrancy without washing it out or creating harsh contrasts.
Natural Light: The Gold Standard
Whenever possible, utilize natural diffused light. Position your subject near a large window, but out of direct sunlight. Direct sun creates harsh shadows and overexposed areas. A sheer curtain can act as a natural diffuser, softening the light beautifully. The ‘golden hour’ (shortly after sunrise or before sunset) provides a warm, soft glow, but may alter true makeup colors slightly.
Artificial Lighting: Control and Consistency
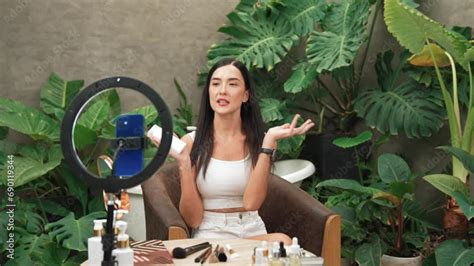
For consistent results regardless of the time of day, invest in artificial lighting. A ring light is a favorite among beauty bloggers because it provides even, shadowless illumination, often creating an attractive catchlight in the eyes. Softboxes, either one large one positioned to the side or two smaller ones, also work wonders to create soft, diffused light, mimicking natural window light. Experiment with light placement to avoid shadows under the brow bone or nose, especially when photographing eye makeup or contouring.
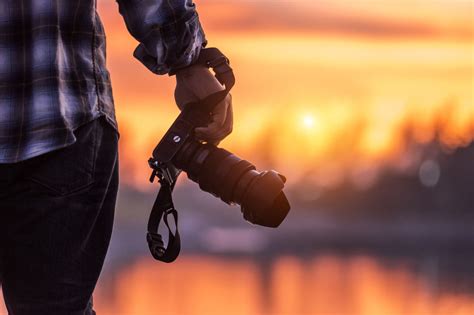
Camera Settings and Equipment for Detail
While a good smartphone can achieve decent results, a DSLR or mirrorless camera offers far greater control and image quality, especially when capturing intricate details. Understanding a few key settings will dramatically improve your outcome.
Aperture, Shutter Speed, and ISO
- Aperture (f-stop): For intricate makeup, you generally want a shallow depth of field (lower f-number like f/2.8 to f/5.6) to keep the makeup sharp while softly blurring the background, making your artistry pop. However, for a full face where all details need to be in focus, you might opt for a slightly higher f-number (f/8 or f/11).
- Shutter Speed: Keep it fast enough (e.g., 1/125 sec or faster) to prevent blur, especially if shooting handheld. A tripod eliminates this concern.
- ISO: Keep your ISO as low as possible (e.g., 100-400) to minimize digital noise, which can obscure fine details.
Macro Lenses and Tripods
A macro lens is an invaluable tool for extreme close-ups of eye makeup, lip art, or intricate facial embellishments. It allows you to get incredibly close while maintaining sharp focus. A sturdy tripod is essential for sharp, stable images, especially when using lower ISOs or focusing precisely on tiny details. It also allows you to focus on posing your model and adjusting lighting without worrying about camera shake.
Posing and Angles: Highlighting the Artistry
The way your model poses and the angle from which you shoot are crucial for showcasing intricate makeup. Think about the focal point of the makeup and how to best present it.
Strategic Posing for Details
If the makeup is on the eyes, have the model look slightly to the side, up, or down to reveal different angles of the lid and lash line. For full-face looks, various head tilts and turns can emphasize contouring, highlight, or lip art. Always communicate clearly with your model, explaining what you want to highlight.
Multiple Angles and Close-Ups
Don’t settle for just one shot. Take photos from several angles: straight on, slightly from the side, a three-quarter view, and always include extreme close-ups of the most intricate parts. These detail shots are often the most impactful for a beauty blog, allowing readers to truly appreciate your skill.
Backgrounds and Props: Keep it Simple and Elegant
When photographing intricate makeup, the background should serve to enhance, not distract. Your goal is to keep the focus squarely on the artistry.
Uncluttered and Neutral Backgrounds
Opt for simple, uncluttered backgrounds. A plain white, grey, or black wall works perfectly. Fabric backdrops, seamless paper, or even a softly blurred natural setting (like a garden, ensuring it doesn’t pull focus) can also be effective. Avoid busy patterns, bright colors, or messy environments that compete with the makeup.
Minimalist Props
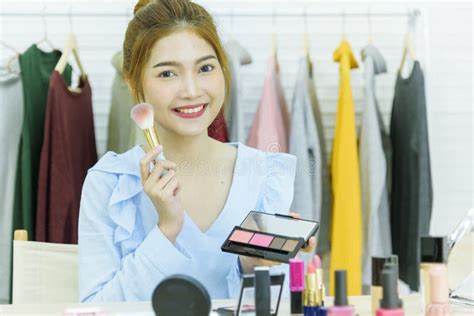
If you choose to use props, ensure they are minimal and relevant. For example, a delicate flower for a spring-themed look, or a small brush if showcasing tools. The key is subtlety; the makeup should always be the star.

Post-Processing: Refining Your Masterpiece
Even with perfect shooting conditions, post-processing is an essential step to polish your images and bring out the best in your intricate makeup artistry. Software like Adobe Lightroom or Photoshop can transform good photos into exceptional ones.
Essential Adjustments
- Color Correction & White Balance: Ensure colors are true to life. Adjust white balance to remove any unwanted color casts.
- Exposure & Contrast: Fine-tune exposure to brighten or darken the image, and adjust contrast to make details pop without making shadows too harsh.
- Sharpening: Apply subtle sharpening to enhance the crispness of fine lines and textures. Be careful not to over-sharpen, as it can introduce noise.
- Subtle Retouching: While the focus is on makeup, minor skin imperfections can be gently smoothed. Avoid heavy airbrushing that makes the skin look unnatural or removes the texture of the makeup itself. The goal is to enhance, not obscure.

Conclusion: Elevate Your Blog with Visual Excellence
Photographing intricate makeup artistry for blog elegance is a blend of technical skill, artistic vision, and attention to detail. By mastering lighting, understanding camera settings, strategically posing your subjects, simplifying your backgrounds, and employing careful post-processing, you can create images that truly reflect the beauty and precision of your work. These methods will not only elevate your blog’s visual appeal but also solidify your reputation as a professional and meticulous makeup artist. Practice these techniques regularly, experiment with different approaches, and watch your blog content transform into a stunning showcase of your talent.