
How to adapt tutorial techniques for my unique features to enhance personal artistry?
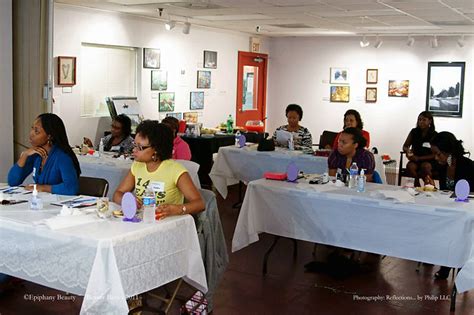
In the vast world of beauty tutorials, it’s easy to feel overwhelmed by an endless stream of perfect looks demonstrated on what often seem to be ‘standard’ faces. While these tutorials offer a fantastic foundation, true artistry lies not in replication, but in adaptation. Your face is a unique canvas, a masterpiece of individual features, and the key to enhancing your personal artistry is learning how to tailor generic techniques to celebrate what makes you, you.
Understanding Your Canvas: The Foundation of Adaptation
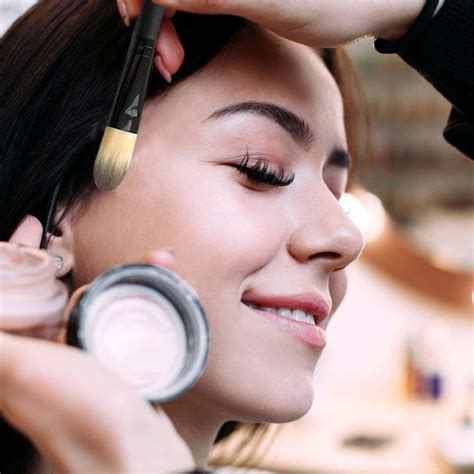
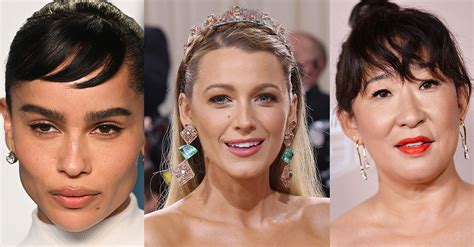
Before you can expertly adapt any technique, you must first intimately understand your own features. This isn’t about finding ‘flaws’ but about identifying the unique contours, shapes, and tones that define your face. Grab a mirror and take the time for a thorough self-assessment:
- Face Shape: Is your face round, oval, square, heart, or diamond-shaped?
- Eye Shape: Do you have almond, round, hooded, monolid, deep-set, wide-set, or close-set eyes?
- Lip Shape: Are your lips full, thin, asymmetrical, heart-shaped, or bowed?
- Skin Undertones: Are you warm, cool, or neutral? This impacts color choices.
- Bone Structure: Where are your natural highlight and shadow points?
This deep dive into your unique characteristics is the essential first step in moving beyond generic instructions.
Deconstructing Techniques for Your Unique Face Shape
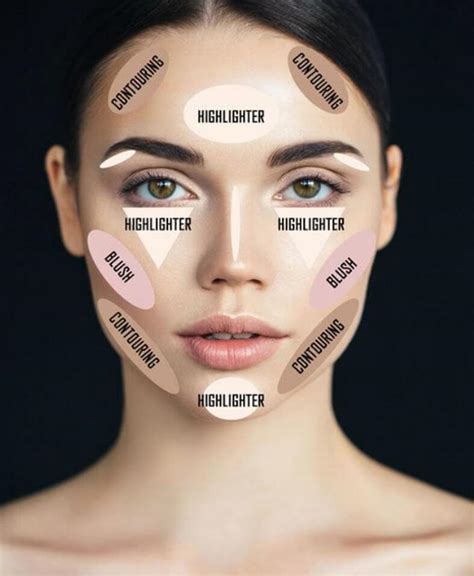
Contouring and highlighting are perhaps the most feature-dependent techniques. A standard contour map won’t work for every face. If a tutorial suggests contouring your cheekbones, consider:
- For rounder faces: Focus on creating angles by contouring beneath the cheekbones and along the jawline to add definition.
- For angular faces: Soften harsh lines by contouring less intensely and focusing on strategic highlighting to bring light to the center of the face.
- For heart-shaped faces: Contour along the temples to balance a wider forehead with a narrower jawline.
Similarly, highlight placement should emphasize your natural high points rather than a one-size-fits-all approach. If your brow bone is prominent, highlight it. If your nose is a feature you wish to enhance, highlight its bridge. The goal is to sculpt, not to mask.
Eyes and Lips: Tailoring the Details
Eye makeup is highly reliant on eye shape. A cut crease on a hooded eye might look completely different than on an almond eye, requiring adjustments in where the ‘crease’ is drawn. For:
- Hooded Eyes: Focus on applying shadow slightly above your natural crease and using lighter shimmers on the mobile lid.
- Monolids: Experiment with gradient washes of color and define the lash line with liner to create depth.
- Deep-set Eyes: Use lighter, brighter shadows on the lid to bring them forward, and avoid heavy liner that can make them recede further.
Lip techniques also benefit from customization. If a tutorial shows over-lining for fuller lips, but yours are already full, you might instead focus on precise application or subtle shading for dimension. If asymmetry is a concern, use lip liner to gently correct and balance the shape before applying color.
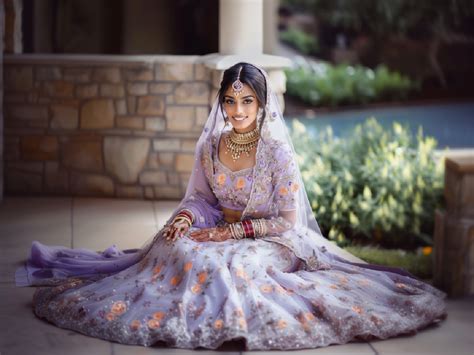
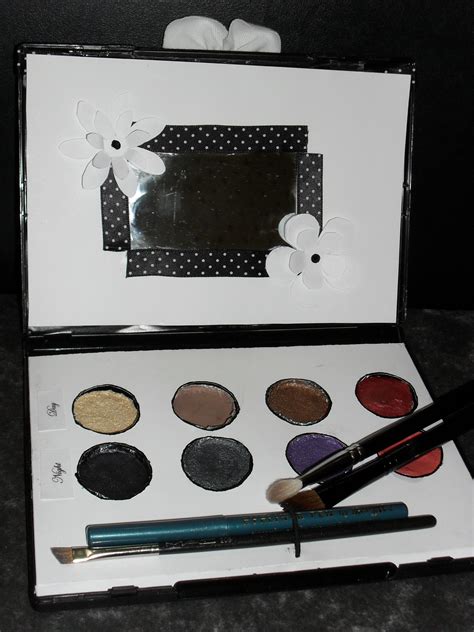
The Power of Color and Texture Personalization
Beyond shape and placement, color and texture play a crucial role in personal artistry. A vibrant red lipstick may look stunning in a tutorial, but understanding your own skin undertone (warm, cool, neutral) will help you pick the perfect shade of red that truly complements you. Similarly, consider the texture:
- Matte finishes: Can be elegant and long-lasting but might emphasize fine lines.
- Shimmer/Gloss: Add dimension and can make features appear fuller, but might not be ideal for oily skin or certain eye shapes.
Don’t be afraid to deviate from a tutorial’s suggested color palette if another hue better suits your skin tone, eye color, or personal style. Your preference is paramount.
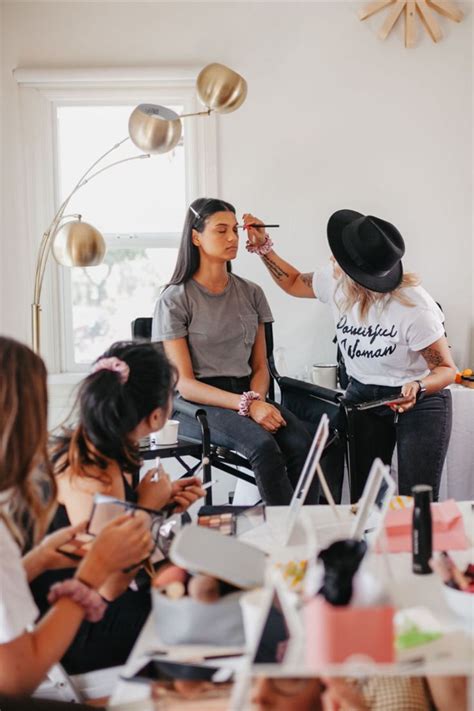
Embracing Experimentation and Developing Your Signature
True personal artistry blossoms through experimentation. Once you’ve learned to adapt, don’t stop there. Take the adapted techniques and push them further. Try new color combinations, unconventional placements, or mix and match elements from different tutorials. Keep a makeup journal, take photos, and note what works and what doesn’t. This iterative process is how you develop a signature style that is uniquely yours—a reflection of your personality and an enhancement of your natural beauty.
Remember, tutorials are guideposts, not rigid rules. Your journey into makeup artistry is about discovering your own unique beauty language. By understanding your features, deconstructing techniques, and embracing experimentation, you will not only enhance your personal artistry but also cultivate a deeper appreciation for your individuality.