Best practices for artistic visual storytelling in beauty blog tutorials?
In the vibrant world of beauty blogging, a tutorial isn’t just about showing steps; it’s about weaving a visual narrative that captivates, educates, and inspires. Moving beyond mere instruction, artistic visual storytelling transforms a simple ‘how-to’ into an immersive experience, allowing your audience to truly connect with the product, the process, and the final look. Here’s how to infuse artistic flair into your beauty blog tutorials.
Beyond the Steps: The Power of Visual Narrative
Your audience scrolls through countless tutorials daily. What makes yours stand out? It’s the story you tell with every frame, every angle, and every edit. Visual storytelling in beauty isn’t just about good lighting; it’s about crafting an emotional journey that showcases transformation, highlights textures, and evokes a desired mood or feeling.
Think of each tutorial as a mini-film. What’s the plot? What’s the character arc (the transformation)? What’s the mood? By consciously designing your visuals to convey more than just information, you create a memorable and impactful experience that resonates long after the video or post is closed.
Mastering the Art of Pre-Production
Great visual storytelling begins long before the camera rolls or the first photo is taken. Strategic planning is paramount to achieving a cohesive and artistic outcome.
Plan Your Story Arc
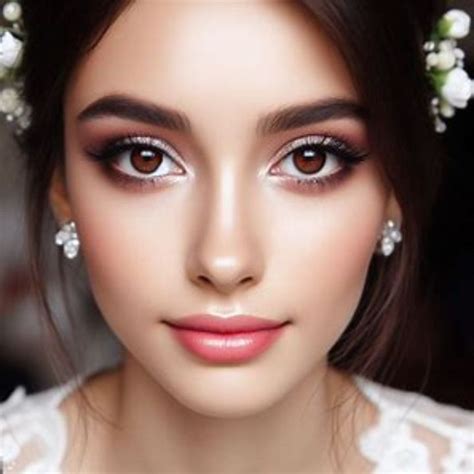
Before touching a single brush, define the narrative. What is the overall aesthetic you want to achieve? Is it a dramatic evening look, a soft everyday glow, or an avant-garde artistic statement? Outline the key visual moments: the ‘before,’ the product application highlights, the ‘mid-transformation,’ and the final ‘after.’ Consider the emotions you want to evoke at each stage.
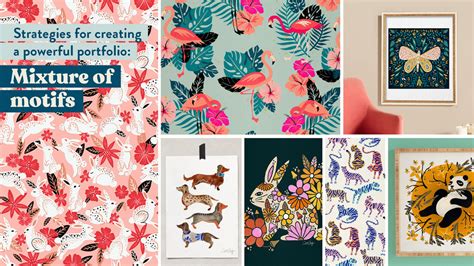
Craft a Mood Board
A mood board is your visual blueprint. Collect images, color palettes, textures, and even music that inspire the overall feeling of your tutorial. This helps ensure consistency in lighting, background, makeup style, and even your own presentation. It’s a fantastic way to solidify your artistic vision and communicate it if you’re working with a team.

Elevating Your Photography & Videography
The technical execution of your visuals is where the artistry truly comes to life. Pay meticulous attention to these elements.
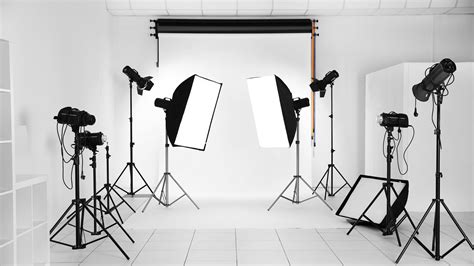
Lighting is Key
Good lighting is non-negotiable. Soft, diffused natural light is often ideal for beauty, creating flattering shadows and true-to-life colors. If using artificial light, invest in softboxes or ring lights to eliminate harsh shadows and create an even glow. Experiment with different lighting setups to find what best enhances the textures of the makeup and the skin.
Composition and Angles
Think dynamically. Don’t just shoot straight-on. Utilize the rule of thirds for balanced shots, experiment with close-ups to highlight intricate details (like glitter placement or a sharp liner wing), and use wider shots to show the overall look and setting. Varied angles keep the visuals engaging and tell a more complete story.
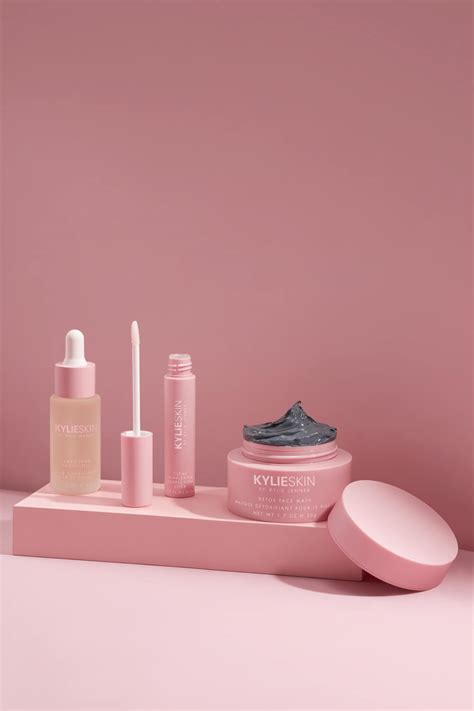
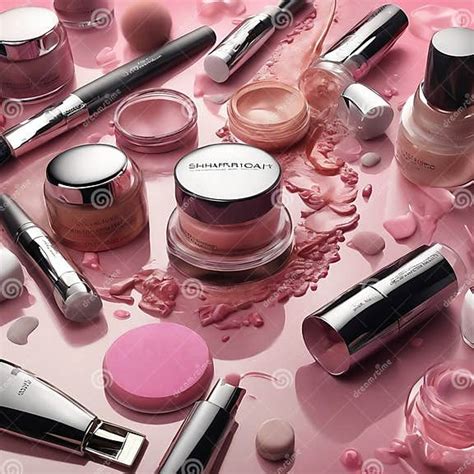
Focus on Detail and Texture
Beauty is tactile. Capture the creamy texture of a lipstick, the shimmer of an eyeshadow, or the blend of foundation on the skin. Macro shots can be incredibly effective here, drawing the viewer’s eye to the artistry and quality of the products and application.
Editing for Impact and Flow
Post-production is where you refine your raw footage into a polished, artistic narrative.
Color Grading and Consistency
Maintain a consistent color palette throughout your tutorial. Color grading can enhance the mood – warm tones for a cozy feel, cooler tones for a sleek look. Ensure skin tones appear natural and true to life. Consistent color helps your brand look professional and cohesive across all your content.
Pacing and Transitions
The rhythm of your video or photo sequence greatly influences the viewer’s experience. Use smooth transitions between steps, vary shot lengths to maintain interest, and ensure the overall pace aligns with the energy of the tutorial. A slow, meditative pace suits a detailed art look, while a quicker pace might be better for a rapid-fire tip tutorial.
Injecting Personality and Authenticity
Your unique voice and presence are integral to artistic storytelling.
Show, Don’t Just Tell
Let your personality shine through your expressions and gestures. Show your enthusiasm for a product, your concentration during a tricky step, or your satisfaction with the final result. Authentic reactions make the tutorial more relatable and human.
Behind-the-Scenes Glimpses
Occasionally, offer a peek behind the curtain. A candid shot of you prepping, a humorous blooper, or a quick tip not directly related to the tutorial can build a stronger connection with your audience, making them feel like they’re part of your creative journey.

By treating each beauty tutorial as an artistic project, focusing on pre-production, meticulous execution of visuals, thoughtful editing, and infusing your unique personality, you transform mere instructions into captivating visual stories. These practices not only enhance the viewing experience but also solidify your position as a distinguished and artistic voice in the beauty blogging landscape.