


How can I effectively present complex beauty artistry tutorials with elegant, high-impact blog visuals?
Mastering Visual Storytelling for Complex Beauty Artistry
Presenting complex beauty artistry tutorials requires more than just skilled technique; it demands exceptional visual storytelling to break down intricate steps into digestible, inspiring content. In the fast-paced world of beauty blogging, high-impact, elegant visuals are not just a luxury but a necessity for engaging your audience, demonstrating mastery, and ensuring your message is understood.
The key lies in a holistic approach that integrates professional photography, thoughtful staging, clear step-by-step guidance, and a consistent aesthetic. Your visuals should not only showcase the final breathtaking result but also illuminate the journey to achieve it, making complex processes accessible and appealing to both novices and seasoned enthusiasts.
Foundation of Stunning Visuals: Photography & Lighting
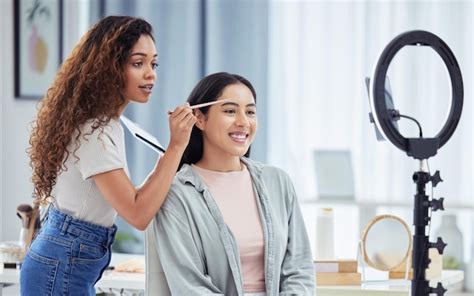
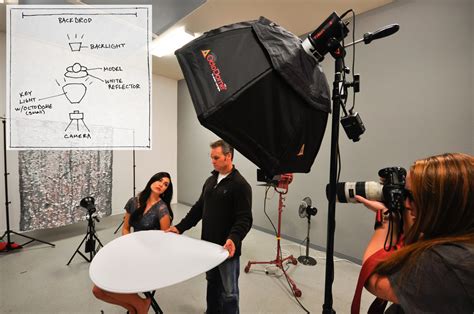
The quality of your raw images forms the bedrock of high-impact visuals. Investing in a good camera and understanding basic photography principles, especially macro and portrait modes, is crucial. However, the true game-changer for beauty tutorials is lighting. Natural daylight is often ideal, providing soft, even illumination that flatters skin tones and highlights intricate details without harsh shadows. If natural light isn’t available, a ring light or softboxes can replicate this effect, ensuring consistent brightness across all your tutorial steps.
Consider your backdrop carefully. A clean, uncluttered background allows the artistry to take center stage. Neutral tones like white, grey, or soft pastels work best, preventing distractions and maintaining an elegant feel. Experiment with angles to best showcase texture, color, and technique, ensuring every crucial detail is clearly visible.
Demystifying Complexity: Step-by-Step Clarity
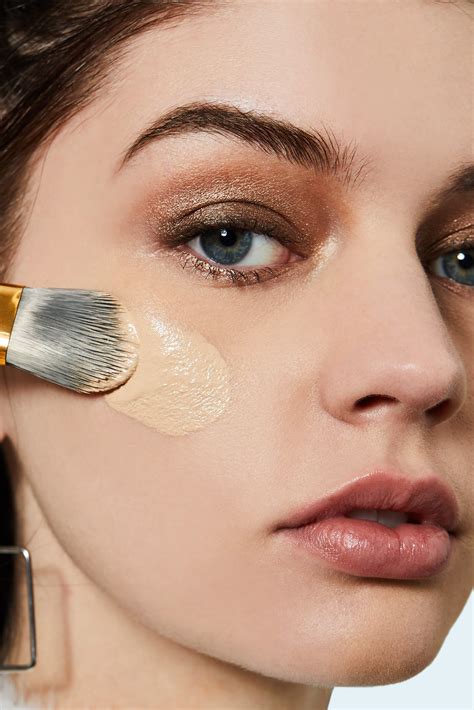
Complex artistry demands clarity in progression. Each step in your tutorial should be accompanied by visuals that clearly demonstrate the action, product, or technique being used. This often means capturing multiple angles for a single step, focusing on different elements like product application, tool positioning, or blending motions. Use close-up shots to highlight fine details that might otherwise be missed, such as a delicate brush stroke or the precise placement of an embellishment.
Consistency is paramount. Maintain similar lighting, framing, and camera angles throughout the sequence to provide a seamless visual flow. Labeling steps clearly in your accompanying text, correlating directly with the visuals, will further enhance understanding. Think of each image as a single frame in a silent movie, telling its part of the story perfectly.
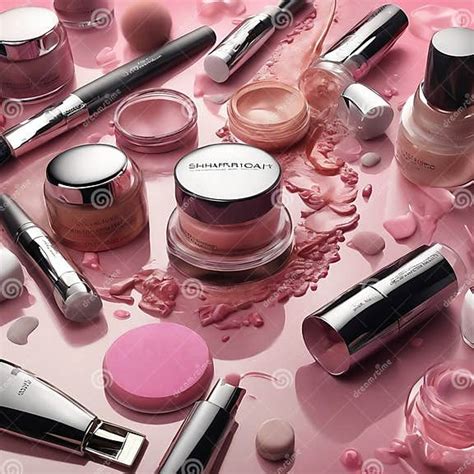
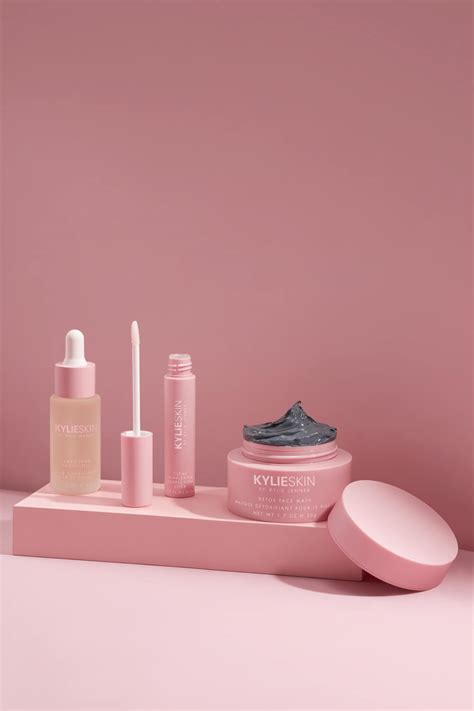
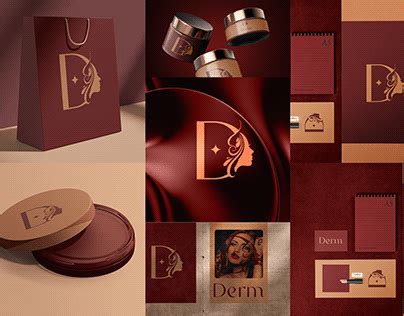
Aesthetic Appeal: Editing and Branding
Post-production is where your visuals truly transform into high-impact, elegant content. Use editing software to enhance colors, adjust brightness and contrast, and sharpen details. However, resist the urge to over-edit; the goal is to refine, not distort. Maintain a consistent editing style across all your tutorials to build a recognizable brand aesthetic. This includes color grading, tone, and even the application of subtle filters.
Incorporate discreet branding elements, such as a watermark or a branded overlay, without detracting from the tutorial itself. This reinforces your brand identity and protects your content. A cohesive visual language across your entire blog will make your tutorials feel professional, trustworthy, and visually appealing, encouraging repeat visits.
Strategic Blog Layout for Maximum Impact
The way you present your visuals on your blog page significantly impacts their effectiveness. Utilize features like image galleries, sliders, or side-by-side comparisons to showcase different stages or before-and-after transformations dynamically. Break up large blocks of text with images, ensuring a comfortable reading and viewing experience. Consider using visual cues like numbered photo grids or clear separators between steps.
Optimizing images for web speed is also crucial; large files can slow down your blog, frustrating users. Compress images without sacrificing quality. Furthermore, always include descriptive alt text for accessibility and SEO purposes. Your blog’s layout should guide the reader effortlessly through the complex artistry, making the learning process enjoyable and impactful.
Beyond the Visual: Concise Text and Engagement
While visuals are paramount, concise and articulate descriptive text remains vital. Use it to provide context, explain nuances that visuals alone can’t convey, and share pro tips. Your text should complement the images, not merely describe what’s obvious. End each tutorial with a clear call to action, encouraging comments, questions, or sharing of audience recreations.
By thoughtfully planning your photography, ensuring step-by-step clarity, refining your aesthetic through editing, and optimizing your blog’s visual layout, you can transform even the most complex beauty artistry into elegant, high-impact tutorials that captivate, educate, and inspire your audience, establishing your blog as a go-to resource in the beauty community.