


How to adapt tutorial techniques to my unique features for enhanced artistry?
Beyond the Brush: Tailoring Tutorials to Your Unique Canvas
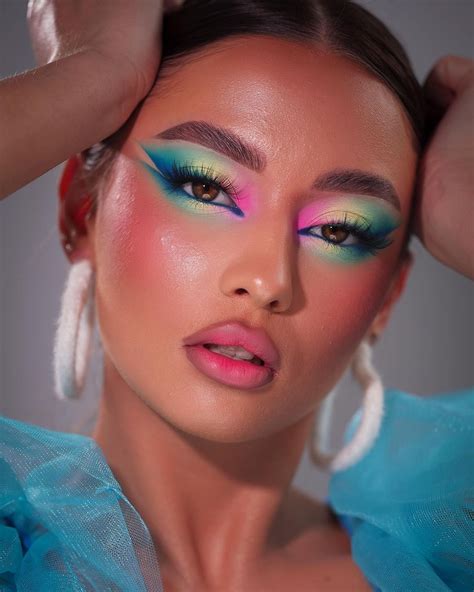
In the vast world of online makeup tutorials, it’s easy to get swept up in the desire to replicate every look perfectly. Influencers showcase flawless applications, inspiring countless recreations. However, what works beautifully on one person’s face might not translate as effectively to another’s. The secret to truly elevated makeup artistry isn’t just mimicking; it’s understanding how to adapt, customize, and personalize techniques to harmonize with your unique features.
This guide will help you move beyond generic applications, empowering you to critically analyze tutorials and modify them for a stunning, individualized result that truly enhances your inherent beauty.
Understanding Your Canvas: The Foundation of Adaptation
Before you can adapt, you must first deeply understand what you’re working with – your own face. This self-analysis is crucial for informed adjustments.
Analyze Your Facial Structure
- Eye Shape: Are your eyes hooded, almond, monolid, downturned, upturned, or round? This dramatically affects eyeliner application, eyeshadow placement, and false lash choice.
- Lip Shape: Do you have a full pout, thin lips, an uneven cupid’s bow, or a naturally defined shape? This dictates lip liner strategies, gloss vs. matte choices, and contouring.
- Face Shape & Bone Structure: Is your face oval, round, square, heart, or long? Understanding this guides contour, highlight, blush placement, and even brow shaping.
- Brow Type: Are your natural brows sparse, full, unruly, or straight? This impacts how you fill, shape, and set them.
Identify Your Skin Type & Tone
- Skin Type: Oily, dry, combination, or normal? This influences primer, foundation, concealer, powder, and setting spray choices to ensure longevity and a flawless finish.
- Skin Tone & Undertone: Are you warm, cool, or neutral? Matching your undertone is vital for foundations, concealers, and color correctors, preventing an ashy or orange cast.
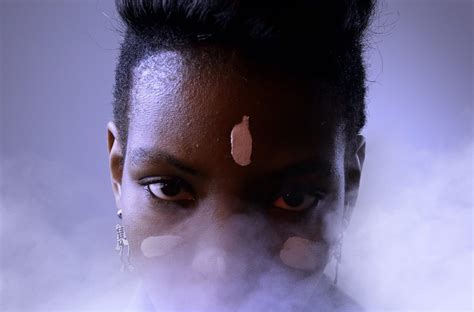
- Skin Concerns: Do you have acne, redness, dark spots, or texture issues? These require specific products and application techniques for effective coverage and treatment.
Deconstructing Tutorials: A Critical Approach
Instead of mindlessly following along, watch tutorials with a critical eye. Ask yourself:
- What is the core technique? Is it a specific way to blend eyeshadow, a unique contouring method, or a lip-plumping trick?
- Why does it work for the model? How do their features (eye shape, cheekbones, lip fullness) complement the technique being demonstrated?
- Where do my features differ? Compare the model’s features to your own. If they have almond eyes and you have hooded eyes, a cat-eye technique will need modification.
- What is the desired outcome? Is it a soft glow, a dramatic smoky eye, or a defined jawline? Keep the goal in mind as you adapt.
Adapting Techniques for Your Features
Now comes the creative part: modifying techniques to work for YOU.
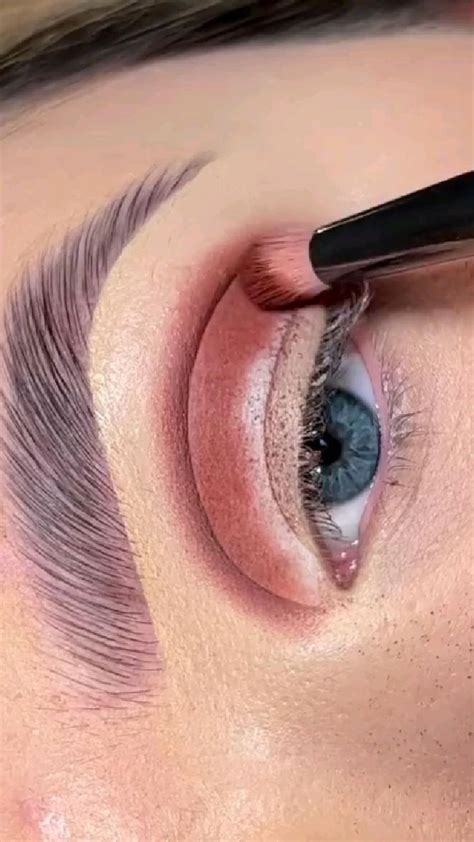
Eye Makeup Adjustments
- Hooded Eyes: Instead of applying dark shadow to the crease (which disappears), focus on the outer V and directly above the hooded lid when eyes are open. Utilize ‘falsies’ to create the illusion of a visible lid. For liner, try a ‘bat wing’ or very thin line that thickens outwards.
- Monolids: Embrace diffused, blended shadows that create a gradient effect. Tightlining and strategically placed shimmer can open up the eye.
- Downturned Eyes: Lift the outer corner with eyeliner and eyeshadow, sweeping upwards rather than following the natural downturn.
Lip Makeup Customization
- Thin Lips: Use lip liner slightly outside your natural lip line, focusing on the cupid’s bow and center of the bottom lip. Opt for lighter, glossier shades to create fullness, avoiding dark mattes that can make lips appear smaller.
- Full Lips: You might not need to overline. Focus on defining your natural shape or slightly blurring the edges for a softer look. Experiment with deeper shades.
- Uneven Lips: Use lip liner to balance symmetry before applying lipstick, carefully building up areas that need more volume.
Face Contouring & Highlighting
- Round Face: Contour along the temples, under the cheekbones (sweeping diagonally upwards), and along the jawline to create more definition and angles.
- Long Face: Contour the hairline and under the chin to visually shorten the face. Apply blush more horizontally to add width.
- Square Face: Soften angles by contouring around the jawline and temples, blending seamlessly. Highlight the center of the forehead and chin.
Product Choice Modifications
- Oily Skin: Opt for mattifying primers, oil-free foundations, setting powders, and setting sprays to control shine.
- Dry Skin: Choose hydrating primers, dewy foundations, cream blushes, and avoid excessive powder.
- Acne/Texture: Use non-comedogenic products. Apply concealer by gently patting, not rubbing, to build coverage without disturbing the skin.
Practice, Experiment, and Refine
The journey to personalized artistry is ongoing. Don’t be afraid to:
- Experiment: Try different angles, product placements, and tools. What looks odd in a tutorial might be your holy grail technique with a slight tweak.
- Document: Take photos of your makeup from different angles. This helps you objectively see what works and what doesn’t.
- Be Patient: Mastery comes with practice. Some adaptations will click immediately, others will require more trial and error.
- Seek Feedback: If comfortable, ask a trusted friend or professional for constructive criticism.
Embrace Your Unique Beauty
Ultimately, makeup is a tool for self-expression and enhancement, not a mask. By learning to adapt tutorial techniques to your unique features, you’re not just improving your skills; you’re celebrating your individuality. This personalized approach leads to more flattering, confident, and genuinely artistic makeup looks that truly reflect and enhance the beautiful person you are.