


Master elegant blending: What tutorial tips ensure seamless artistry?

The Foundation of Flawless Makeup
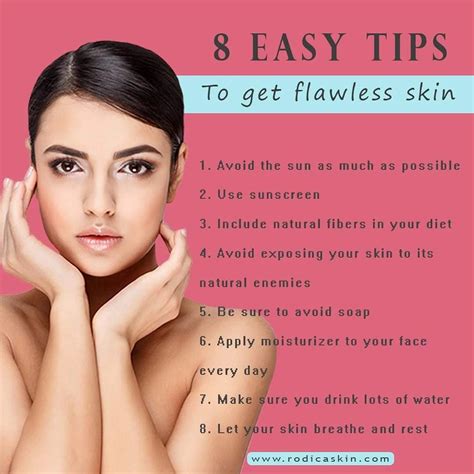
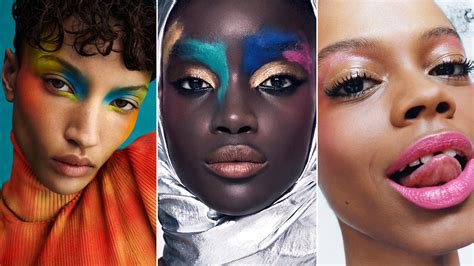
Blending is arguably the most crucial step in achieving a polished and professional makeup look. It’s the art of softening harsh lines, diffusing colors, and creating a harmonious transition between different products on your face. Without proper blending, even the most expensive products can look patchy, unrefined, and anything but elegant. Mastering this skill transforms your entire makeup application, elevating a simple routine into true artistry. It’s about creating a soft focus effect that enhances your natural features rather than overwhelming them.
Whether you’re working on a smoky eye, a contoured cheekbone, or a subtle transition of foundation to neck, the principles of seamless blending remain consistent. It requires patience, the right tools, and an understanding of product textures.
Essential Tools for Seamless Blending
Your brushes and sponges are extensions of your hand when it comes to blending. Having the right tools can make a significant difference in the ease and effectiveness of your blending efforts. Investing in quality tools, and more importantly, knowing how to use them, is paramount.
Brushes: Know Your Types
- Fluffy Blending Brushes: Ideal for eyeshadows, setting powder, and bronzer. Their loose bristles are designed to diffuse product softly over a larger area, eliminating harsh lines. Look for dome-shaped or tapered brushes.
- Dense Buffing Brushes: Perfect for foundation, cream blush, and contour. The tightly packed bristles help to work product into the skin for a smooth, airbrushed finish, preventing streaks.
- Precision Brushes: Smaller, often flat or pointed brushes used for intricate work like concealer under the eyes, blending eyeliner, or applying highlighter precisely.
Makeup Sponges: The Damp Secret
A damp makeup sponge is indispensable for a seamless finish, especially with liquid and cream products. The dampness helps to melt products into the skin, creating an incredibly natural, skin-like texture. Use a tapping or bouncing motion, rather than dragging, to press the product into the skin for an even, airbrushed effect. They are particularly excellent for blending foundation, concealer, and cream contour.
Mastering Blending Techniques
Beyond the tools, it’s the technique that truly defines seamless artistry. Here’s how to approach different areas of your face:
Product Application and Layering
Always start with a small amount of product and build it up gradually. It’s far easier to add more product than to remove excess. When working with cream products, blend them out before they set. For powders, lightly dust and buff. Layering thin applications of product allows for more control and a smoother transition.

The Circular Motion and Tapping
- Circular Buffing: For foundation and face powders, use light, circular motions to buff the product into the skin. This technique ensures an even distribution and polishes the skin, minimizing pores and texture.
- Windshield Wiper Motion: Predominantly for eyeshadow, this back-and-forth motion helps to diffuse color across the lid and into the crease, softening edges.
- Gentle Tapping/Bouncing: With a damp sponge, gently tap or bounce the product onto your skin. This technique is fantastic for concealer, blending out any harsh lines, and pushing the product into the skin for a natural, seamless finish.
Common Blending Mistakes to Avoid
Even experienced makeup enthusiasts can fall victim to common blending pitfalls. Awareness is the first step to correction:
- Under-blending: Leaving visible lines or patches of color. This is the most obvious sign of poor blending. Keep going until all edges are diffused.
- Over-blending: While less common, over-blending can remove too much product, making your application patchy or disappearing entirely. Know when to stop!
- Using the Wrong Brush: Trying to blend a precise eyeliner with a fluffy powder brush, or buffing foundation with a small eyeshadow brush, will yield frustrating results. Match your tool to the task.
- Dirty Brushes: Brushes caked with old product can’t blend new product effectively. They can also transfer bacteria and compromise the purity of colors. Clean your brushes regularly!
- Too Much Product at Once: Applying a heavy hand of product makes blending significantly harder and often results in a cakey look. Start sheer and build coverage.

Practice Makes Perfect: Incorporating Tutorials
The beauty community is a treasure trove of knowledge. YouTube tutorials, online workshops, and Instagram reels offer endless inspiration and step-by-step guidance. When watching, pay close attention to:
- The angle at which the artist holds their brush.
- The pressure they apply.
- The specific motions they use for different products and areas.
- How they transition from one product or color to another.
Don’t be afraid to experiment on your own face. Blending is a skill that improves with consistent practice. What works for one person might need slight adjustments for your unique face shape, skin type, or desired look. Be patient with yourself, embrace the learning process, and celebrate every subtle improvement.
Conclusion
Mastering elegant blending isn’t about innate talent; it’s about understanding the techniques, utilizing the right tools, and committing to practice. By following these tutorial tips – from selecting appropriate brushes to employing circular motions and avoiding common pitfalls – you can transform your makeup application. Each seamless transition and diffused edge will contribute to a more polished, professional, and ultimately, more beautiful you. Embrace the blend, and watch your artistry flourish.