


What key steps translate workshop artistry to YOUR unique face for defined elegance?

From Generic Guidelines to Personalized Perfection
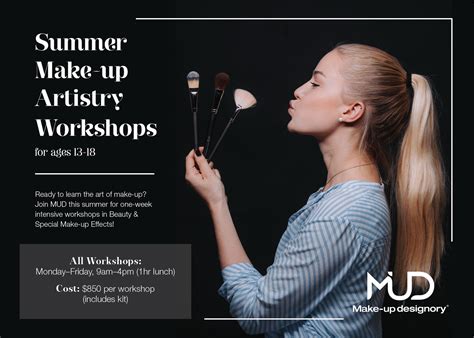
Attending a makeup workshop is an exhilarating experience, often leaving you inspired with a newfound arsenal of techniques. However, the true artistry isn’t just about replicating what you learned; it’s about seamlessly translating those generalized principles to the canvas of YOUR unique face. Defined elegance emerges not from a one-size-fits-all approach, but from a bespoke application that celebrates and enhances your individual features. Let’s explore the key steps to make workshop artistry uniquely yours.

Step 1: Know Your Unique Canvas – Deep Dive into Your Features
Before you can adapt, you must understand. Spend time analyzing your facial structure, often overlooked in the excitement of new techniques. This foundational step is paramount:
- Face Shape: Is it oval, round, square, heart, or long? Each shape benefits from different contouring, highlighting, and blush placements. A workshop might demonstrate contouring on an oval face, but a round face might need more vertical definition, while a square face benefits from softening the angles.
- Eye Shape: Almond, hooded, monolid, round, downturned? Eyeliner and eyeshadow application vary dramatically. A cut-crease technique taught for almond eyes will need significant modification for hooded eyes to show above the fold.
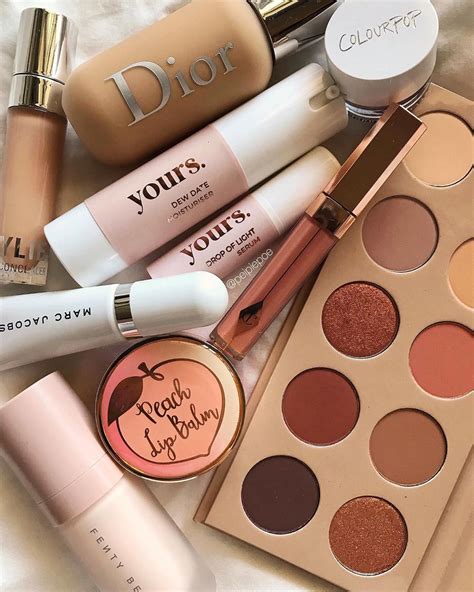
- Skin Tone & Undertone: Beyond light, medium, or deep, understanding your undertone (warm, cool, neutral) is crucial for selecting the right foundation, concealer, blush, and lip colors that truly harmonize with your complexion, preventing an ashy or mismatched finish.
- Lip Shape & Size: Are your lips naturally full, thin, asymmetrical? Lip lining and lipstick application can enhance or balance.
Step 2: Decipher the ‘Why’ Behind Workshop Techniques
Workshops teach ‘how-to,’ but mastering the ‘why’ is where personal adaptation begins. Every technique serves a purpose:
- Contouring: Why are we placing dark shades here? To create shadow, recede, or define. For YOUR face, where do you need more shadow or definition? Perhaps it’s a softer contour for a naturally sharper jawline, or more targeted contouring for a rounder forehead.
- Highlighting: Why are we placing light shades here? To bring forward, emphasize, or create glow. On YOUR face, which areas do you want to catch the light? A subtle highlight on the brow bone might be perfect for you, rather than a bold cheekbone highlight if your cheeks are already prominent.
- Blush Placement: Why here? To add warmth, lift, or define the cheekbones. The ‘apple of the cheek’ might not be the most flattering spot for every face shape; some might benefit from placement higher on the cheekbone for a lifting effect.
Step 3: Customizing Product Choices & Application Precision
With a deep understanding of your features and the purpose of each technique, you can now personalize your product selection and application:
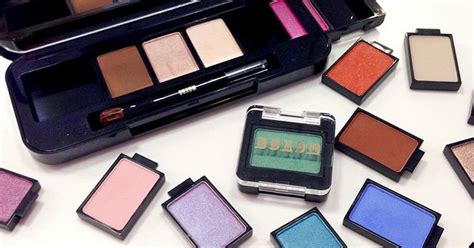
- Shade Selection: A workshop might recommend a specific foundation shade range, but you’ll need to find your exact match. The same applies to eyeshadows, blushes, and lipsticks – choose colors that complement your personal skin tone and undertone, not just the model’s.
- Texture & Finish: If a workshop used matte products, but your skin is dry, consider swapping for luminous or satin finishes. Or if you have oily skin, opt for oil-controlling formulas.
- Tool Adaptation: A large fluffy brush for contouring might work for some, but a smaller, denser brush might offer more precision for your specific facial structure. Don’t be afraid to experiment with different brushes or sponges to achieve your desired effect.
- Application Intensity: A heavy hand might be perfect for stage makeup, but for daily elegance, a softer, more blended application is often key. Build up coverage and color gradually.

Step 4: Practice, Document, and Refine
Translating artistry is an iterative process. It rarely happens perfectly on the first try. Regular practice is your best friend:
- Dedicated Practice Sessions: Set aside time to experiment. Try the same technique with subtle variations.
- Varying Lighting: Makeup looks different in natural daylight versus indoor lighting. Check your makeup in various light sources to ensure it looks harmonious.
- Take Selfies: Pictures can reveal areas that need more blending, color adjustments, or different placement that you might not notice in a mirror.
- Seek Constructive Feedback (Optional): Sometimes a trusted friend or professional can offer an objective perspective.
Embrace Your Personal Definition of Elegance
Ultimately, defined elegance isn’t about perfectly replicating a look from a magazine or a workshop model. It’s about harnessing your knowledge, understanding your unique beauty, and applying techniques in a way that makes you feel confident and authentic. By taking these key steps, you transform general workshop artistry into a personalized craft, ensuring your makeup truly reflects and enhances the beautiful uniqueness that is YOU.