

How to adapt tutorial artistry for unique features, ensuring an elegant, refined finish?
The Art of Personalizing Your Pout and Gaze
In the vast world of online beauty tutorials, it’s easy to get swept away by captivating looks and flawless applications. However, what often gets overlooked is that most tutorials are demonstrated on a generic or specific face shape and feature set. The true mastery of makeup lies not in replicating a look exactly, but in skillfully adapting it to enhance your unique features, ensuring an elegant and refined finish that speaks to your individual beauty. This guide will help you bridge the gap between inspiration and personalized perfection.
Understanding Your Canvas: Beyond the Basics
Before you even pick up a brush, take a moment to truly understand the contours and characteristics of your face. Generic advice on face shapes, eye types, and lip structures is a good starting point, but delve deeper. Do you have a prominent brow bone? Hooded eyelids with a deep set? A unique facial asymmetry? Identifying these specifics is crucial for effective adaptation.
- Face Shape & Bone Structure: Analyze your jawline, cheekbones, and forehead. Are they soft or angular? This dictates where you should apply contour, blush, and highlight.
- Eye Shape & Placement: Beyond almond or round, consider if your eyes are close-set, wide-set, deep-set, prominent, or have specific lid space challenges like monolid or heavy hoods.
- Lip Shape & Size: Are your lips full, thin, asymmetrical, or have a unique cupid’s bow?
- Skin Tone & Undertone: More than just light, medium, or dark, knowing your warm, cool, or neutral undertone is fundamental for harmonious color choices in foundation, blush, and even eyeshadow.
Key Principles for Artistic Adaptation
Successful adaptation hinges on a few core principles that allow you to pivot from a tutorial’s prescriptive steps to a tailored approach.
1. Placement is Paramount
The exact spot a product is applied in a tutorial might not be ideal for you. For instance, if a tutorial suggests blush on the apples of the cheeks, but you have a round face, placing it slightly higher on the cheekbones can create a more lifted effect. Similarly, eyeliner wings need to be customized for eye shape to avoid drooping or obscuring. Always consider your individual bone structure and feature placement.
2. Intensity & Color Choice
A bold color that looks stunning on a model with a different skin tone or eye color might overwhelm your features. Adapt the intensity by using a lighter hand, sheerer formulas, or opting for a complementary shade within the same color family. Undertone matching is critical here – a cool-toned red lipstick might look vibrant on a cool complexion but clash on a warm one.
3. Technique Modification
Application techniques are rarely one-size-fits-all. If a tutorial uses a sharp cut-crease, but you have hooded eyes, a softer, blended approach to creating depth above the crease might be more flattering. For thin lips, gentle overlining rather than precise tracing can create the illusion of fullness without looking unnatural. Experiment with brushes, blending motions, and product layering to suit your specific needs.
Tailoring Tutorial Elements for a Refined Look
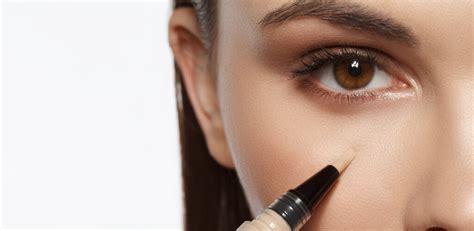
Foundation & Contouring
While a tutorial might suggest a universal contour placement, adapt it to your face shape. For a round face, focus contour along the jawline and under cheekbones to add definition. For a square face, soften the angles by subtly contouring the temples and jaw corners. Always blend meticulously to avoid harsh lines, ensuring a seamless, natural finish.
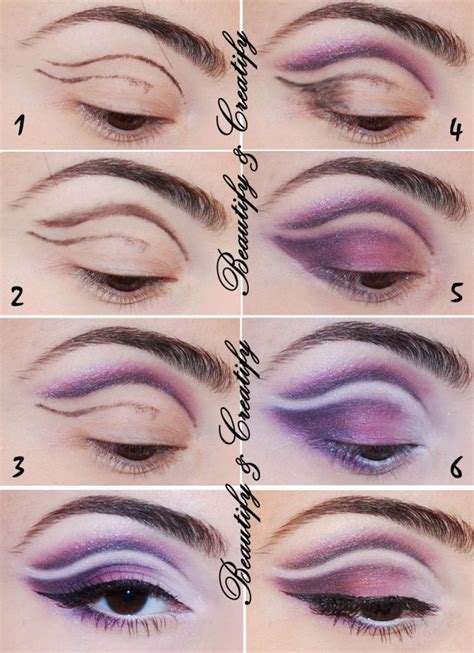
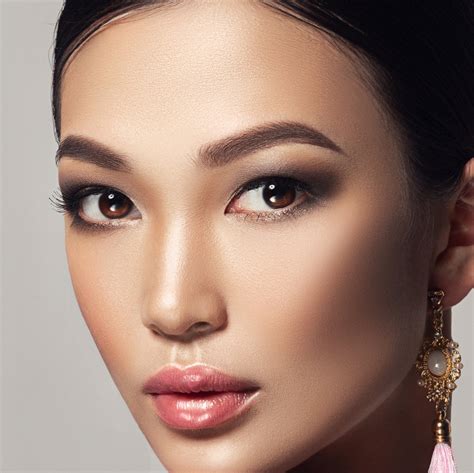
Eye Makeup for Every Eye Shape
- Hooded Eyes: Focus on creating depth above the crease and extending shadow outwards. Keep shimmers on the mobile lid and inner corner, avoiding heavy dark shades in the crease itself.
- Monolid Eyes: Build gradient color upwards from the lash line. Experiment with ‘faux crease’ techniques and soft smokiness.
- Deep-Set Eyes: Use lighter, brighter shades on the lid to bring them forward. Reserve darker shades for the outer V.
- Downturned Eyes: Lift the outer corner with upward-angled eyeliner and eyeshadow blending to create an illusion of lift.
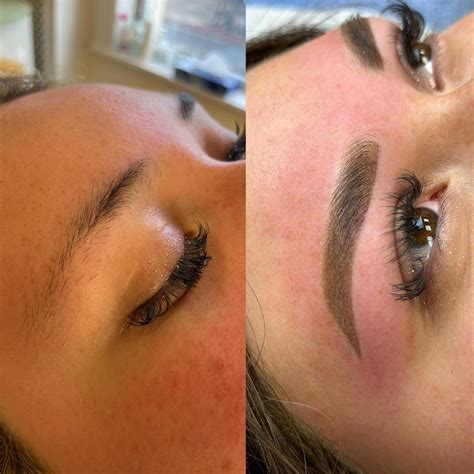
Brows: Framing Your Face
Tutorials often show a specific brow shape. While symmetry is desired, embrace your natural brow bone. If your brows are naturally straighter, don’t force an arch. Instead, enhance the fullness and define the edges to complement your facial structure, maintaining a soft, natural look. The goal is to frame your face elegantly, not to draw new brows entirely.
Lip Artistry for Your Smile
If you have thin lips, a tutorial’s heavy matte lipstick might make them appear smaller. Opt for slightly glossy finishes or shades that are a touch brighter than your natural lip color to create fullness. For uneven lips, subtly balance them with a lip liner before applying color. Focus on enhancing your natural lip line for a sophisticated appeal.
The Elegant Finish: Blending, Balance, and Personal Touch
Achieving an elegant and refined finish is less about complex techniques and more about finesse. Regardless of the tutorial you’re adapting, always prioritize:
- Immaculate Blending: Harsh lines detract from refinement. Blend all edges until seamless.
- Balanced Features: If you emphasize your eyes, keep lips softer, and vice-versa. Avoid overwhelming your face with too many focal points.
- Quality over Quantity: A few well-placed, high-quality products applied thoughtfully will always look better than many layers of poorly chosen ones.
- Lighting Check: Always check your makeup in natural light to ensure it looks balanced and natural, not just under your bathroom lights.
Embrace Your Individuality
Ultimately, makeup is a tool for self-expression and enhancement, not a mask. By understanding and celebrating your unique features, you transform from a follower of trends to a master of your own artistry. Adapting tutorials empowers you to create looks that are not just beautiful, but authentically and elegantly you. Experiment, practice, and trust your intuition – your most refined finish is simply your best self, beautifully presented.