


How do I adapt online makeup tutorials to my unique face for elegant, flawless application?

Beyond the Mirror: Understanding Your Unique Facial Canvas
Online makeup tutorials are a treasure trove of inspiration, offering endless techniques and looks. However, a common frustration arises when replicating a tutorial only to find the results don’t quite match the elegant, flawless vision. This isn’t a reflection of your skill, but rather the fundamental truth that every face is unique. The key to truly mastering makeup lies not in rigid imitation, but in intelligent adaptation. This guide will walk you through how to translate generic online advice into a personalized application that perfectly complements your individual features.
Deconstructing Your Face: Shape, Features, and Undertones
Before you even pick up a brush, take a moment to become intimately familiar with your own face. Understanding your specific features is the foundation of tailored makeup application.
- Face Shape: Is your face oval, round, square, heart-shaped, or long? Different face shapes benefit from varied contouring, highlighting, blush, and brow techniques to enhance symmetry and create balance.
- Eye Shape: Do you have almond, round, hooded, monolid, downturned, or upturned eyes? Eyeliner, eyeshadow placement, and mascara application should be customized to flatter your specific eye shape and make them pop.
- Lip Shape: Thin, full, asymmetrical, or well-defined? Lip liner and lipstick application can subtly reshape and enhance your natural lip line.
- Nose Shape: While optional, understanding your nose can guide subtle contouring to refine its appearance if desired.
- Skin Undertone: Are you cool, warm, or neutral? This is crucial for selecting the correct foundation, concealer, and color palettes that won’t make your skin look sallow or unnatural.
Analyzing the Tutorial: What’s the Underlying Technique?
Instead of merely copying where a guru places their brush, try to understand the why behind their actions. A tutorial often demonstrates a technique to achieve a specific effect, like creating depth, bringing forward a feature, or lifting the face. For example, if a tutorial applies dark contour under the cheekbones, the goal is to create a shadow and definition. You need to identify where your cheekbones are and where that shadow would naturally fall on your face.
Consider the model in the tutorial: What is her face shape? Eye shape? Skin tone? How do her features differ from yours? This comparison will help you anticipate how a technique might need to be adjusted.
Mastering Placement and Blending for Your Unique Features
Once you understand your features and the tutorial’s intent, you can adapt placement and blending. This is where personalized application truly shines.
- Adjusting Contouring & Highlighting: If you have a round face, you might extend contour further down the cheekbone than someone with a narrower face. If you have a prominent forehead, you might contour closer to the hairline. Highlighting should always go on the highest points of your face that naturally catch light.
- Tailoring Eye Makeup: For hooded eyes, a cut crease might need to be created higher than your natural crease. For monolid eyes, focus on horizontal blending and defining the lash line. Always consider your eye space and bone structure.
- Blush Application: The ideal placement for blush varies. For a round face, applying blush slightly higher and blending upwards can create a lifting effect. For a longer face, applying it horizontally across the apples can add width.
- The Power of Blending: Regardless of where you apply products, blending is paramount. Seamless transitions between colors and products are what elevate an application from good to flawless and elegant.
Product Perfection: Matching to Your Skin Type and Tone
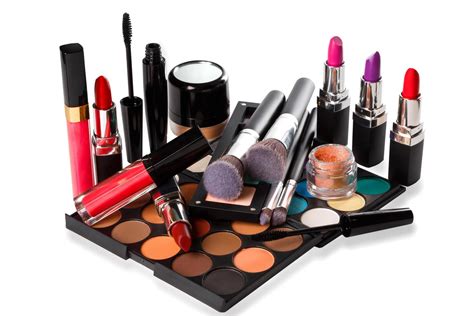
The best application means little if the products aren’t right for you. Online tutorials often feature specific brands or shades that may not suit everyone.
- Foundation & Concealer: Always match to your skin tone and undertone. Test shades on your jawline in natural light. Consider your skin type (oily, dry, combination, sensitive) when choosing formulas (matte, dewy, hydrating, long-wear).
- Color Palettes: While a tutorial might use a specific eyeshadow palette, understand the colors (warm vs. cool, bright vs. muted) and finishes (matte, shimmer, satin). Choose shades that complement your skin tone and eye color, rather than just copying exactly.
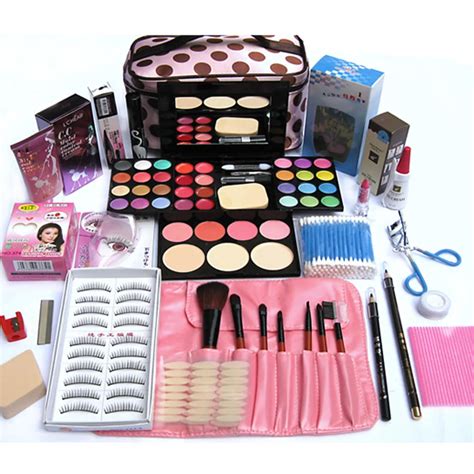
- Brushes and Tools: Don’t feel pressured to buy every brush a guru uses. Understand the type of brush (dense, fluffy, flat) and its purpose (packing, blending, diffusing) and find tools that work for you.
Practice, Patience, and Personalization: The Path to Mastery
Adapting makeup techniques takes time and experimentation. Don’t be discouraged if your first few attempts aren’t perfect. Treat each application as a learning opportunity. Take photos, analyze what worked and what didn’t, and adjust for next time. Over time, you’ll develop an intuitive understanding of your face and what looks best on you.
The ultimate goal is to move beyond simply following instructions and to develop your own signature style. By understanding the principles of makeup and how they interact with your unique features, you’ll gain the confidence to create elegant, flawless looks that are truly your own.