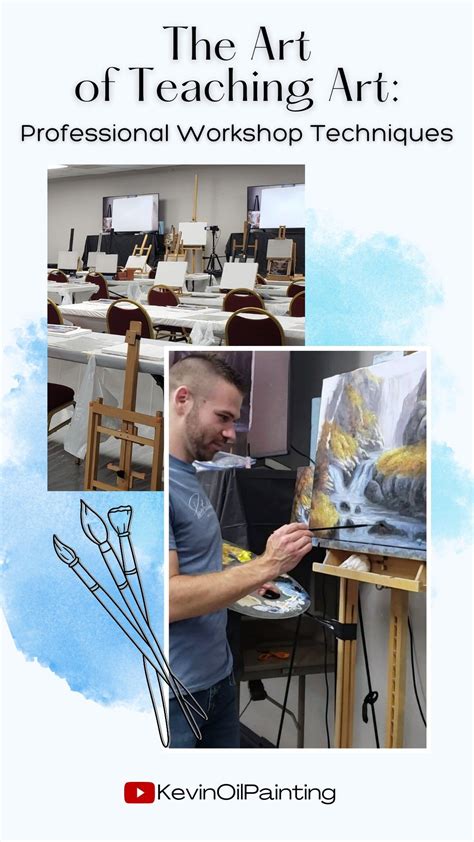


How to adapt video makeup tutorials for personalized, elegant artistry on unique features?

Beyond Replication: Crafting Your Signature Look from Tutorials
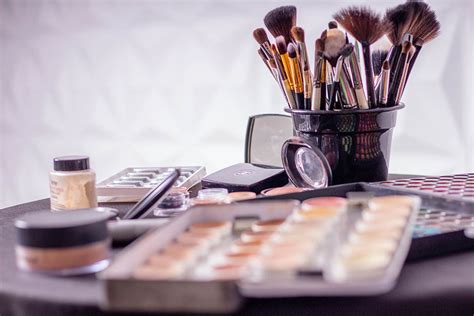
Video makeup tutorials are an incredible resource, offering a visual step-by-step guide to countless looks. However, the models in these videos rarely mirror our exact features, leading to frustration when a technique doesn’t translate seamlessly. The secret to unlocking truly elegant and personalized artistry isn’t just about following along, but about intelligent adaptation. This guide will help you decode tutorials and tailor them to celebrate your unique facial structure, skin tone, and features.
Understand Your Canvas: A Self-Assessment Primer
Before you even pick up a brush, take a moment to truly see your face. This self-assessment is the foundation of adaptation:
- Eye Shape: Are your eyes hooded, monolid, deep-set, prominent, almond, or downturned? Each shape benefits from different placement of shadow and liner.
- Face Shape: Is your face round, oval, square, heart, or long? This dictates contour, highlight, and blush placement.
- Lip Shape: Do you have a thin upper lip, full lips, or an asymmetrical shape?
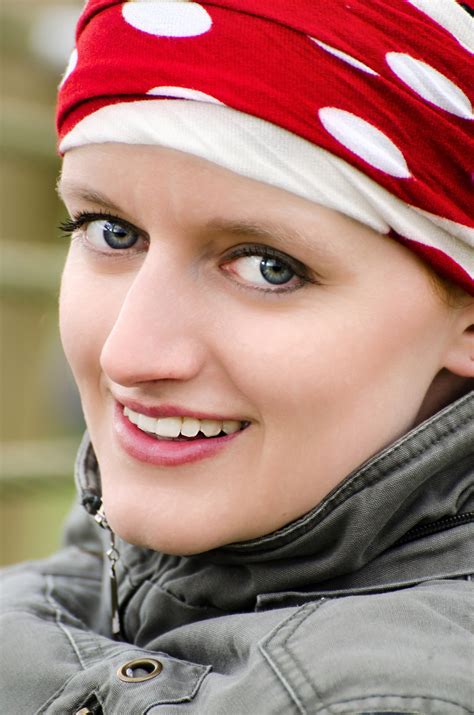
- Skin Tone & Undertone: Beyond light or dark, identify your undertone (cool, warm, neutral) to choose flattering colors.
- Brow Shape & Hairline: These frame your face and impact how certain looks appear.
Deconstructing the Tutorial: Core Techniques vs. Specific Application
Instead of copying a look exactly, break the tutorial down:
- Identify the Core Technique: Is it a cut crease, a smoky eye, a specific contour method? Focus on the underlying skill.
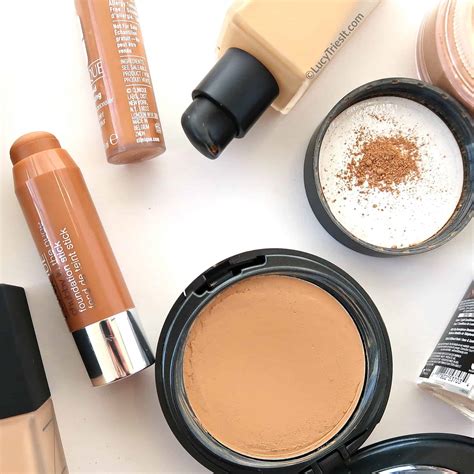
- Analyze the Product Type: Is it a matte shadow, a cream blush, a liquid highlighter? Understand the texture and finish.
- Observe the Placement & Blending: Pay attention to where the product is applied and how it’s diffused.
- Question the ‘Why’: Why is the artist applying product there? What effect are they trying to achieve (e.g., lift, define, enlarge, soften)?
Adapting for Unique Features: Practical Strategies
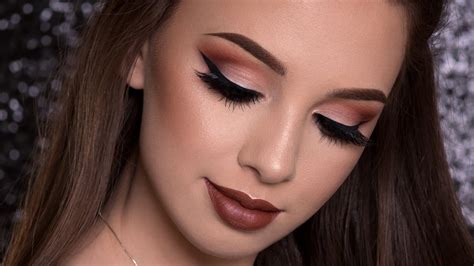
Eyes: The Window to Personalization
- Hooded Eyes: Instead of applying dark shadow to the crease (which disappears), place it slightly above your natural crease on the hood itself. Extend liner outwards and upwards, creating a ‘bat wing’ effect that appears straight when your eyes are open.
- Monolids: Focus on creating dimension with gradient shadows, often darkest at the lash line and blending upwards. Use eyeliner to define and lift.
- Deep-Set Eyes: Avoid heavy dark shadows in the crease, which can make them recede further. Opt for lighter, shimmery shades on the lid and blend mid-tones into the outer V.
- Prominent Eyes: Darker, matte shadows on the lid can help them recede slightly, while focusing liner on the upper lash line rather than the waterline can balance their shape.
Face: Sculpting Your Signature Symmetry
- Contour & Highlight: Instead of following a universal ‘3’ shape, contour where your face naturally has shadows and highlight where light naturally hits. For a round face, contour along the jawline and temples to create angles. For a long face, contour under the chin and at the hairline to shorten.
- Blush Placement: For a round face, apply blush higher on the cheekbones, blending towards the temples to lift. For a heart-shaped face, apply it slightly lower on the apples to soften the angles.
Lips: Enhancing Your Natural Shape
- Thin Lips: Use a lip liner just outside your natural lip line, focusing on the Cupid’s bow and center of the bottom lip. Opt for lighter, shimmery lipsticks or glosses to create an illusion of fullness.
- Asymmetrical Lips: Use lip liner to subtly correct and create a more balanced shape before applying lipstick.
Skin Tone & Undertone: Color Harmony
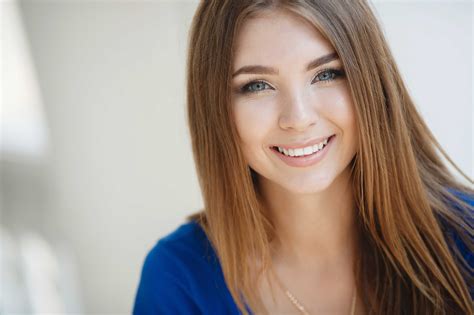
A vibrant red on a cool undertone might be a rich berry, while on a warm undertone, it might be a fiery coral. Always swatch shades on your jawline or inner arm to see how they truly interact with your skin. Adjust lipstick, blush, and eyeshadow shades to complement your complexion rather than clashing with it.
Practice, Patience, and Personalization
Adapting tutorials takes practice. Don’t be afraid to experiment! Try a technique on one eye first, then compare. Use different brushes to see how they impact blending. Start with less product and build up gradually. The goal isn’t to perfectly replicate the tutorial model, but to use the techniques as a springboard for your own unique elegance. Over time, you’ll develop an intuitive understanding of what works best for your features, transforming generic looks into bespoke artistry that truly celebrates you.
Embrace Your Unique Beauty
By learning to adapt video makeup tutorials, you move beyond mere imitation to become a true artist of your own face. This process not only enhances your makeup skills but also deepens your appreciation for your individual beauty. The result is a personalized, elegant artistry that feels authentic, confident, and uniquely you.