


How to adapt video tutorials for my unique features, ensuring elegant, defined artistry?
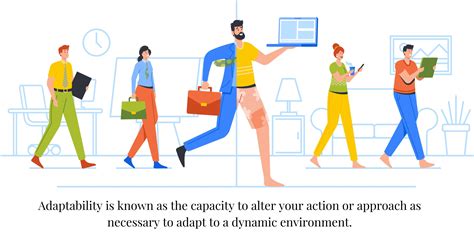
Many makeup tutorials offer fantastic techniques, but they’re often demonstrated on models with ‘average’ or specific features. The real artistry lies in translating those techniques to your unique canvas. This guide will help you decode tutorials and adapt them to enhance your individual beauty, ensuring an elegant and defined finish every time.
The Foundation: Understanding Your Unique Canvas
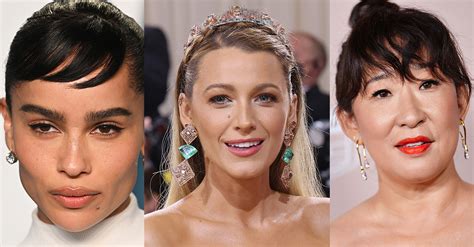
Before you can adapt, you must know what you’re working with. Take time to analyze your face shape (oval, round, square, heart, long), eye shape (almond, round, hooded, monolid, downturned, upturned), skin tone and undertone, natural brow shape, and lip fullness/shape.
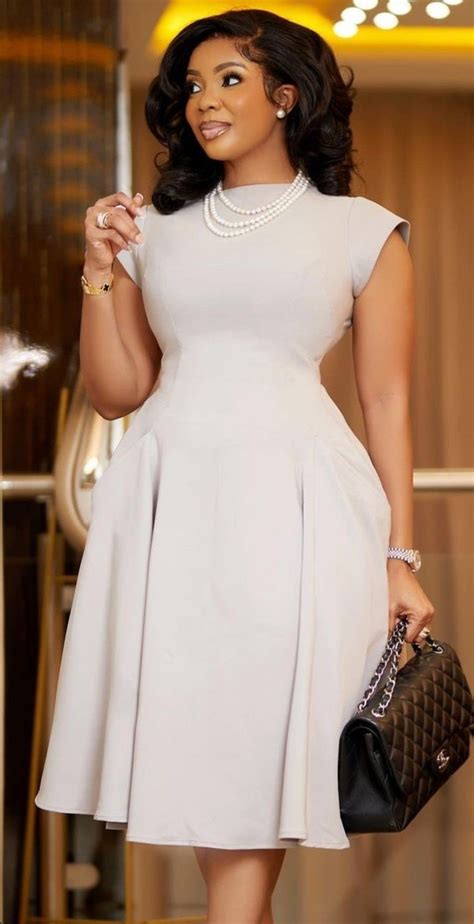
Understanding these elements is crucial because what looks stunning on one person might not be the most flattering on another. Embrace your unique features – they are what make you beautiful and distinct.
Deconstructing the Tutorial: Core Techniques vs. Specific Placement
When watching a tutorial, try to differentiate between the technique being taught (e.g., cut crease, smoky eye blending, contouring method) and the specific placement or intensity tailored for the model. The technique is universal; the application needs personalization.
Ask yourself: What is the purpose of this step? Is it to create depth, lift, widen, narrow, or highlight? Once you understand the ‘why,’ you can adapt the ‘how’ to your own face.

Adapting for Face Shape
Contour and Highlight: If the tutorial shows contouring under the cheekbones, consider your face shape. For rounder faces, you might extend the contour slightly lower and more vertically to add length. For square faces, focus on softening the jawline. For longer faces, placing highlight horizontally on the forehead and chin can balance proportions.
Blush Placement: A general rule is to apply blush to the apples of the cheeks, but for heart-shaped faces, applying it slightly higher and towards the temples can create balance. For long faces, keep blush more horizontal.
Tailoring for Eye Shape
This is often the most critical adaptation.
- Hooded Eyes: If a tutorial features a visible lid space, and you have hooded eyes, adapt by bringing shadow higher into the crease and above it (the ‘transition area’) so it’s visible when your eyes are open. Focus on lighter shimmers on the mobile lid and darker shades for definition in the outer V, extending them slightly outwards.
- Monolids: Embrace graphic liners and apply shimmer across the lid. Darker shadows can be concentrated near the lash line and blended upwards, often with a focus on defining the outer corner.
- Round Eyes: To elongate, focus on extending eyeliner and outer V shadow horizontally.
- Downturned Eyes: Create an upward lift with winged liner and by blending outer corner shadows upwards.
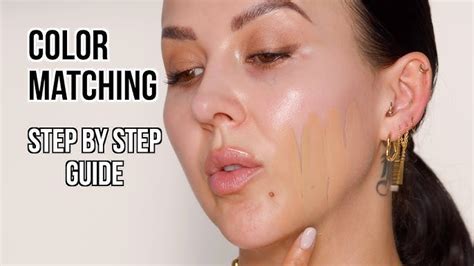
Adapting for Skin Tone and Undertone
Color Choices: A bold red lipstick might look different on a cool vs. warm undertone. A cool-toned person might prefer a blue-based red, while a warm-toned person might opt for an orange-based red.
Foundation and Concealer: Always match to your skin tone and undertone. If a tutorial uses a warm-toned foundation, and you have cool undertones, choose a cool-toned equivalent. Be mindful of how shades (especially bronzers, blushes, and highlighters) show up on different depths of skin tone – a subtle highlight on fair skin might be invisible on deep skin, requiring more intensity or a different shade.
Brow Arch and Lip Shape Considerations
Brows: A tutorial might show a specific brow style. Instead of recreating it exactly, use it as inspiration to define your natural brow shape. Fill in sparse areas and define your existing arch, rather than drawing a completely new one. Brows frame the face and should complement your natural structure.
Lips: If a tutorial over-lines lips significantly, consider if that suits your natural lip shape and desired aesthetic. If you have full lips, you might only need to define them. If you want more volume, a subtle over-line on the cupid’s bow and center of the lower lip can be effective without looking unnatural.
The Art of Practice, Experimentation, and Patience
Adapting takes time. Don’t be discouraged if your first attempt doesn’t look exactly like the tutorial. Treat each application as an experiment. Take photos from different angles to see what works and what doesn’t.
Start with small adjustments. Instead of drastically changing a technique, try modifying the placement by a millimeter or two, or adjusting the intensity of a color. You’ll gradually build an intuitive understanding of what flatters your face.

The goal of makeup is not to replicate someone else’s face, but to enhance and celebrate your own unique features. By understanding your canvas and intelligently adapting tutorials, you’ll unlock a level of elegant, defined artistry that is distinctly yours. Embrace the process, trust your eye, and let your unique beauty shine through.